Videos
-

Story Behind the Shot: Epic fishing in Vermont
I shot this on a pristine, remote lake in Vermont. It’s the kind of place with no other humans for miles if you get out there far enough. We spent a week camping on its shores and saw more fish than people in that time. We took a canoe and a few kayaks across the…
-
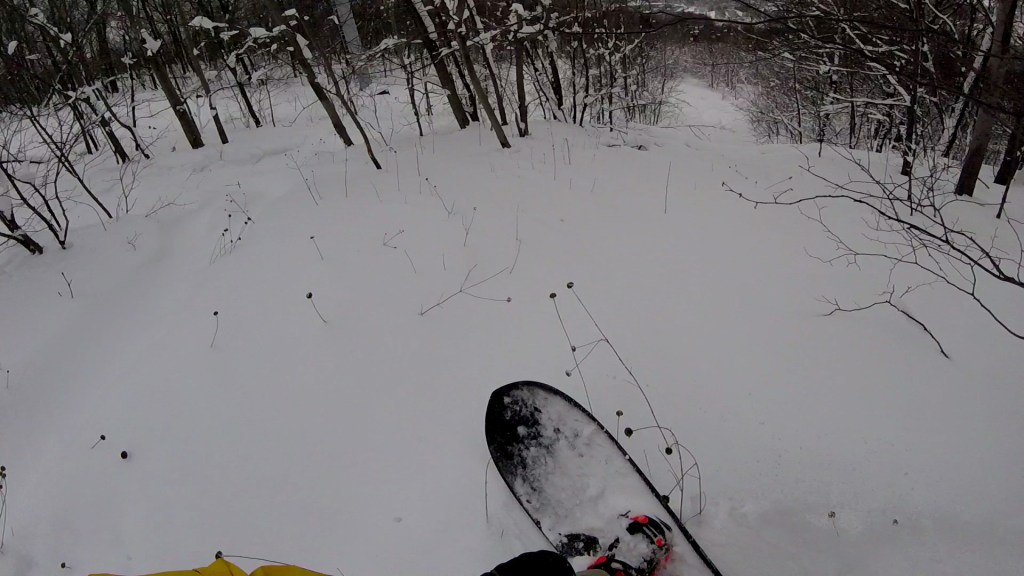
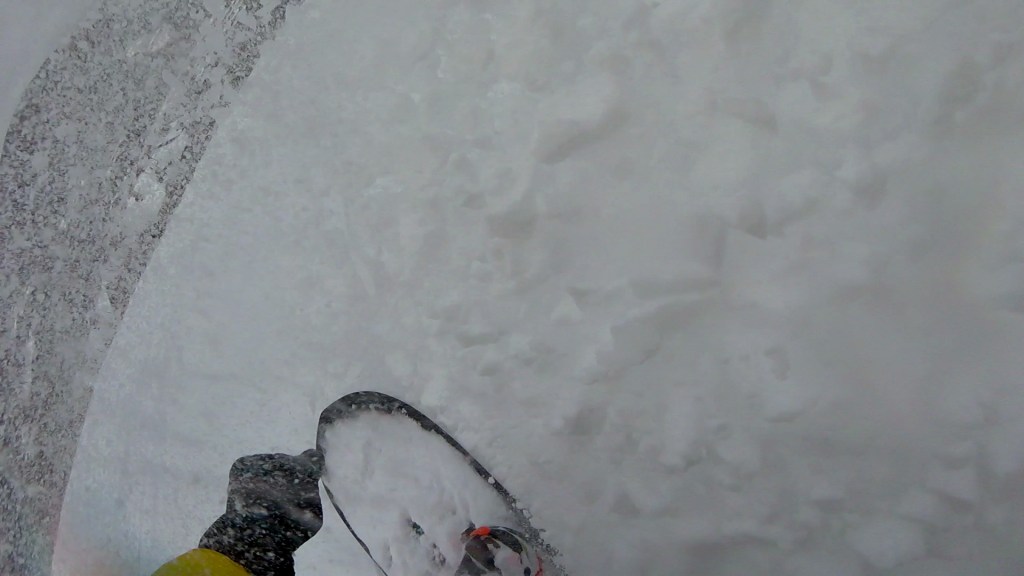
Best pow day ever at Mountain Creek, NJ
What a spring here in the east—it really has been a Miracle March. This was probably the most snow I’ve ever seen at Mountain Creek (my home mountain) and I got to ride some lines I’ve never even looked at before! There was that much snow! We had so many storms I totally forget what…
-

We scored so much powder in February
February 2018 was one for the books! What an epic month—I got to travel around to Whiteface NY, Revelstoke BC, Banff AB, and many more sick spots! It was truly a great month to be snowboarding, and I collected quite a few clips along the way. This is just a quick teaser to give you…
-
Deep storm hits Hunter Mountain, NY
So Hunter Mountain reported 28″ of fresh snow thanks to Winter Storm Riley. Unfortunately, this crazy dump also killed the power to the entire Hunter area so I was forced to hike it to get the goods. The hike was epic and totally worth it. During my run down, ski patrol stopped next to me and…
-

It was a good winter to snowboard
Well, winter is over and spring is (finally) here for real on the east coast. Despite the low snow numbers here this season, it was still my best season ever. Still scored, and I go out more days than I ever have. Looking forward to next year, but for now I’ll be enjoying a slightly…
