Videos
-
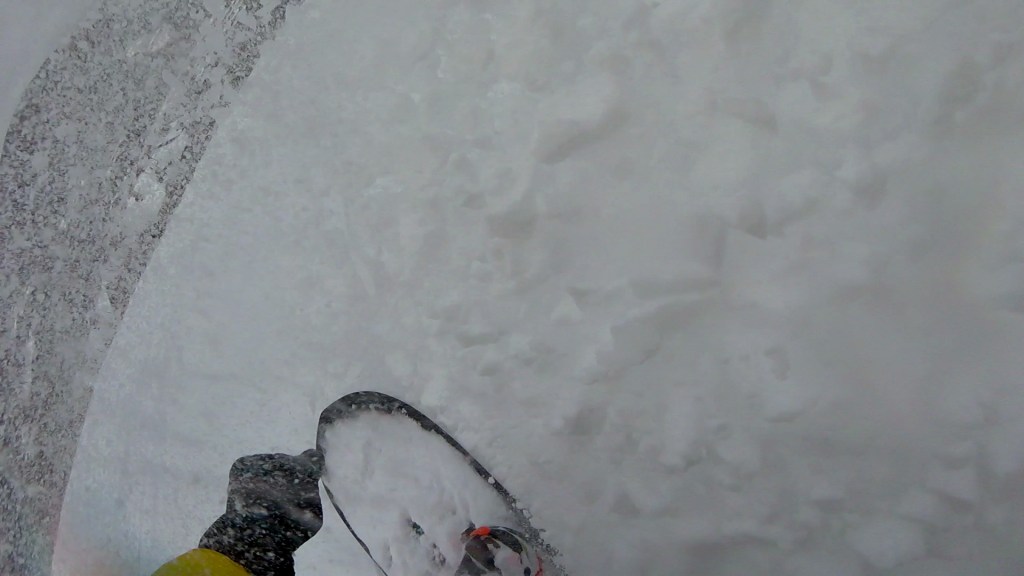
Deep storm hits Hunter Mountain, NY
So Hunter Mountain reported 28″ of fresh snow thanks to Winter Storm Riley. Unfortunately, this crazy dump also killed the power to the entire Hunter area so I was forced to hike it to get the goods. The hike was epic and totally worth it. During my run down, ski patrol stopped next to me and…
-

Downhill longboarding mountain roads in NY
Took a trip to New York this past weekend and got some clips of ballsy shredder and friend Adam Garcia bombing down a beautiful run in the woods. Here’s one of the raw runs.
-

It was a good winter to snowboard
Well, winter is over and spring is (finally) here for real on the east coast. Despite the low snow numbers here this season, it was still my best season ever. Still scored, and I go out more days than I ever have. Looking forward to next year, but for now I’ll be enjoying a slightly…
-
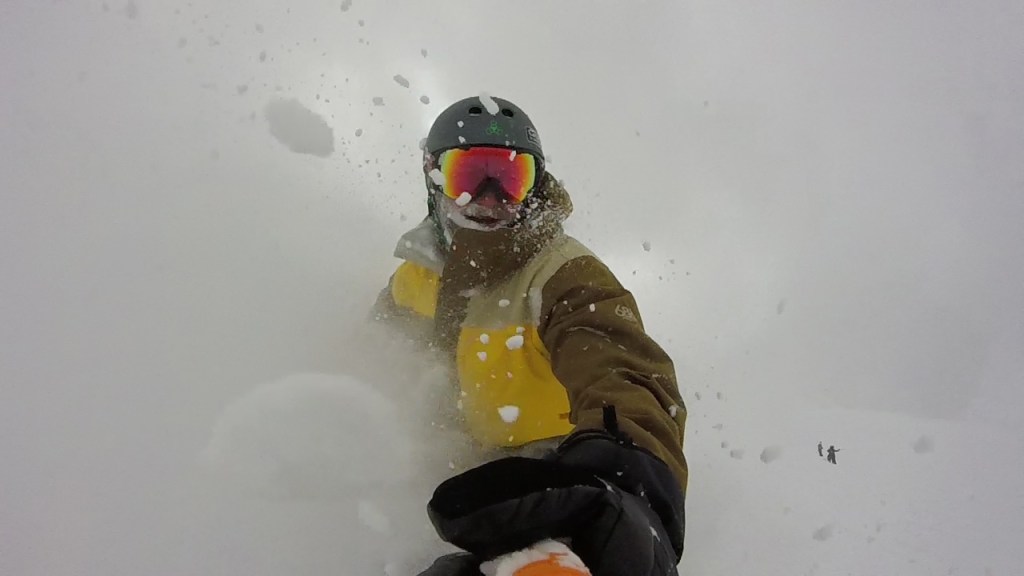
Three feet of powder at Breckenridge, CO
AHHH! What a week of powder in Colorado! This was definitely some of the deepest pow and steepest terrain I’ve ever ridden. So blessed, so lucky, and still super stoked about the whole thing. I can’t believe the amount of pow I got in my face.
-

Monmouth University Snowriders trip to Stowe, VT
This past weekend the MU Snowriders (AKA the ski club) took a trip to Stowe, Vermont and scored! We woke up to pow on both days, which no one expected. Sick mountain, sick trip, and definitely some good times.
