Snow
-
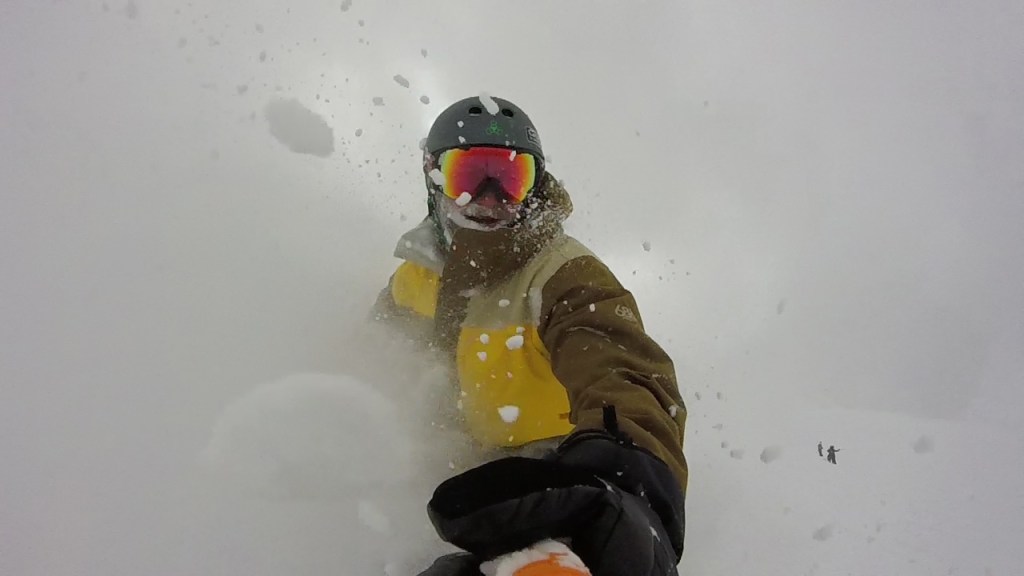
Three feet of powder at Breckenridge, CO
AHHH! What a week of powder in Colorado! This was definitely some of the deepest pow and steepest terrain I’ve ever ridden. So blessed, so lucky, and still super stoked about the whole thing. I can’t believe the amount of pow I got in my face.
-

Monmouth University Snowriders trip to Stowe, VT
This past weekend the MU Snowriders (AKA the ski club) took a trip to Stowe, Vermont and scored! We woke up to pow on both days, which no one expected. Sick mountain, sick trip, and definitely some good times.
-
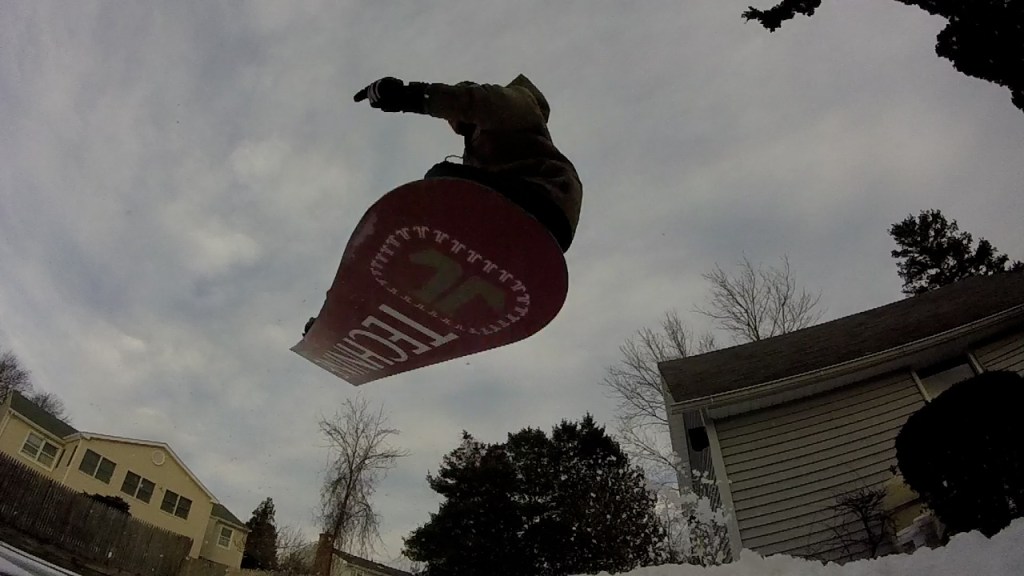
Snowboard park in the backyard
This week’s video of the week is a special backyard edition. My roommates and I built this in our backyard out of the 2+ feet of snow Winter Storm Jonas dropped in late January. It was a pain to keep from melting but it was worth it!
-

Bluebird days at Winter Park, CO
So I bought myself a GoPro and took it with me for a couple days of snowboarding at Winter Park, Colorado. This is an edit I made from the best clips. If you like the music, check out my good friend Synchronice—it’s his remix of Dazzle by Oh Wonder. Enjoy!
-
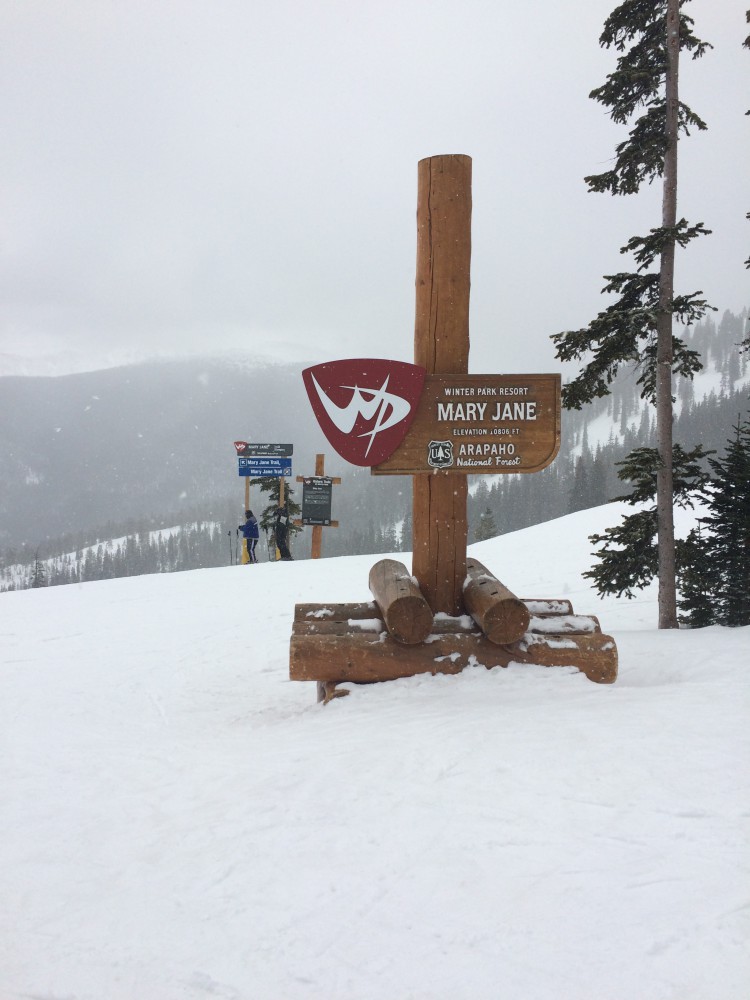
First Impressions: Winter Park, CO
I just got back from an epic few days snowboarding in Colorado. Before this, Pennsylvania is probably the farthest west I’ve ever been to snowboard. Let me tell you, nothing on the east coast compares to the Rockies. Winter Park is actually made up of seven different areas, each about the size of an average…
